Laying of a mushroom bed
(Level 1 – beginner)
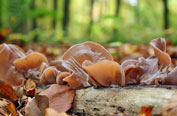
Preparing a mushroom bed with wood-inhabitant mushrooms is a very easy thing! The best time to start is spring, as soon as the nights are frost-free. We recommend the use of wood-based spawn (spawn describes a substrate that is fully colonised by mushroom mycelium, used for inoculation of the fruiting substrate). The use of grain-based spawn may attract mice, rats or other vermin. Just mix the spawn with a convenient base material and keep it moist.
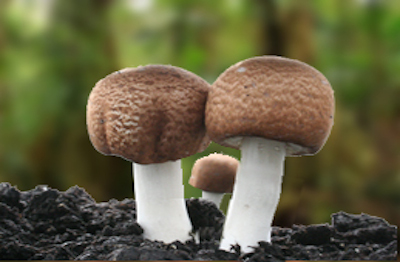
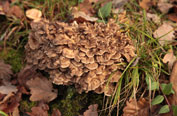
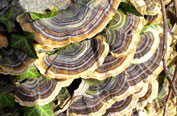
Depending on the species of mushroom and weather conditions, the mycelia often develop their first fruiting bodies only a few months after the inoculation. The mushroom fruits until all nutrients have been consumed. With little luck, the mushroom will settle permanently in your garden.
Recommended equipment:
Completely colonised wood substrate (spawn)
Wood chips , sawdust coarse and fine
(for 1 autoclave bag with 3,3 kg spawn we recommend the following mix:
30 L wood chips, 30 L sawdust coarse, 21 L sawdust fine and 21 L of water)
Covering material (bark mulch approximately 25 litres, straw or soil)
Corrugated card board
Spade or shovel
Water (garden hose)
Preparation
Mushrooms breeding in your garden need a shadowy place, preferably either near trees or underneath bushes. If you want to lay several beds side by side, leave enough space between the beds. With proper nurture they will expand and develop fruit bodies for several years.
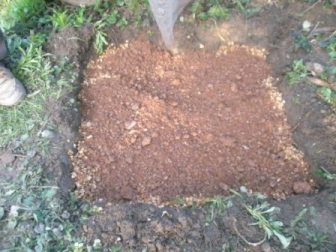
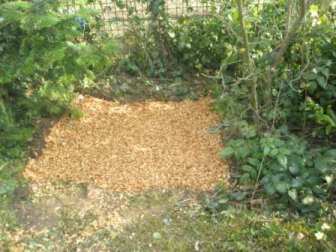
With one spawn bag (2,5 kg capacity) a mushroom bed of 80 x 80 cm can be inoculated. Excavate about 10 cm of soil and spread out cardboard as a bottom layer of your bed. Now disperse half of the wood chips evenly on the bed and irrigate them for about 10 minutes using a your garden hose.
Inoculating the bed
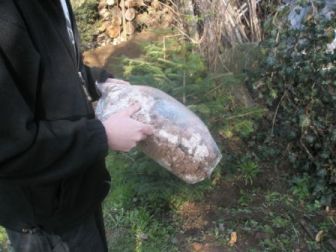
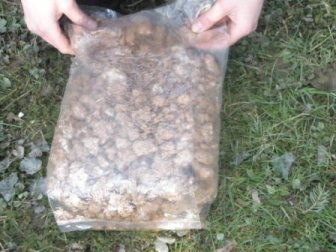
The spawn bag needs to be properly shaken, because mycelium-populated wood substrate tends to be closely clotted. By fluffing and rubbing of the bag with the entire palm of your hand, the substrate can be separated. Make sure you separate the substrate thoroughly to ensure a consistent and quick colonisation of the wood chips.
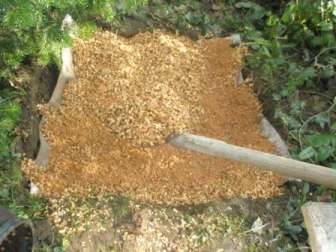
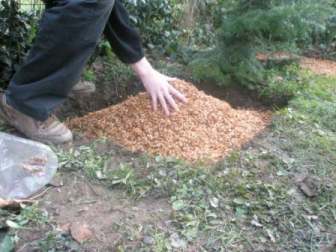
Now spread out the spawn over the watered wood chip layer as evenly as possible and cover it with the remaining wood chips. Afterwards the mushroom bed needs to be watered again for about 10 minutes. To prevent the bed from drying out we recommend a 5 cm thick cover layer of bark mulch or straw. This cover layer needs to be moisturised as well.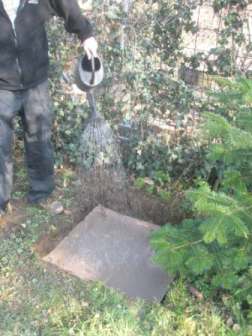
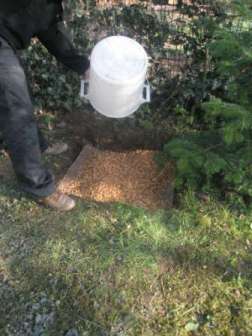
Some mushrooms even accept a cover layer made of soil. We recommend the use of mushroom casing soil. Fluff up the soil in the bag, evenly spread out a 5 cm thick layer over the bed and water the bed for a few minutes.
Further care
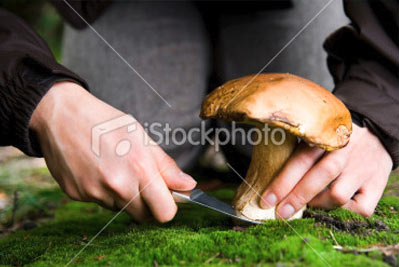
Check the moisture of the mushroom bed periodically. If the bed isn’t moist 3 cm deep or more, please water it again. During the harvesting season we recommend to harvest the fruiting bodies daily. The simplest method to do this is twisting the fruiting bodies at their base. Take care to remove the whole shaft to prevent bacterial contaminations.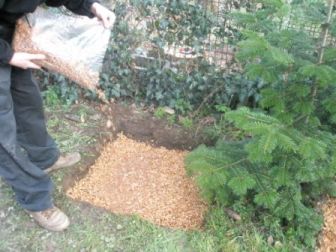
Wintering and feeding
To ensure your mushroom bed survives in winter, we recommend spreading out a 5 cm thick layer of wood chips before the first frost. This new layer offers your mushroom bed fresh nutrients. In the next spring, as soon as the nights are frost-free again, the mushroom bed should be checked for moisture and be watered in case it has dried out.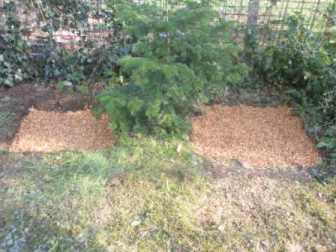
Fighting snails
Snails love mushrooms! To prevent these voracious creatures from destroying the whole crop, we recommend building a snail fence around the mushroom bed. Don’t use slug and snail bait or other chemical pest control substances, the poison might end up in the fruiting bodies!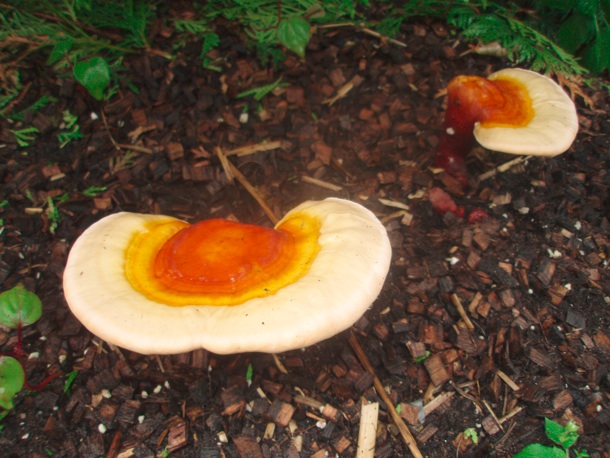
References:
„Mycelium running/ How mushrooms can help save the world“, Paul Stamets; Ten Speed Press, Berkeley/Toronto;
„The Mushroom Cultivator: A Practical Guide to Growing Mushrooms at Home", Paul Stamets, Agarikon Press; First Edition (December 1983);
„Growing Gourmet and Medicinal Mushrooms”, Paul Stamets, Ten Speed Press, Berkeley/Toronto;